Use this feature to transfer spaces (with Snapshots) to another data center site.
If you are restoring the complete site, you do not need this feature: Snapshot data will be restored as part of the Atlassian full site restore.
This feature is available from version 3.27.2 and onwards
Always use the Snapshots site to site migration tool along with the native Atlassian tools for transferring spaces into a new site.
The Jira data that is captured by the snapshots is stored in dedicated database tables inside the Confluence database. However- when Atlassian tools are restoring spaces, they do not restore those database tables.
Technically, the snapshots site to site migration tool does two things:
-
It transfers the snapshot database from one site to another, and realigns the entries in the database with the correct pages and Snapshots.
-
When spaces migrate, often so do the Jira projects and with them the custom fields. The tool remaps custom fields used by snapshots to the custom fields in the new Jira, seamlessly allowing new snapshots to be retrieved (after the migration) without you needing to reconfigure the snapshots macro definition.
Migration of spaces between sites: Steps to follow
Here is how to use the snapshots migration tool as part of a site migration flow.
👁️🗨️ The Snapshots tools are available to a Confluence administrator → Under the Snapshots App administration area.
|
Step |
Notes |
|
|---|---|---|
|
1 |
On target site |
|
|
2 |
Install the Snapshots App and configure the application link with Jira |
|
|
3 |
Using Atlassian native tools to migrate to the new site Use Atlassian tools to transfer Confluence spaces and Jira projects to the target site. |
If you are migrating several Spaces, plan to migrate all of them in one flow. The Snapshot migration step will transition all the snapshots on the site in one go- so its advisable to migrate snapshots after all spaces and projects are migrated. 💡 At this stage, on the Target site: migrated pages with Snapshots will show that Snapshots has no data. Leave them like this- the snapshots migration tool will bring the data to those Snapshots. |
|
4 |
On source site |
The steps on the source site should be carried out at the same point of time as when the Space export is done, to ensure the Atlassian backup and the Snapshots backup are consistent with each other. |
|
5 |
The tab: Export Download the snapshots export file |
A zip file is downloaded. The zip contains two files:
|
|
6 |
On target site |
|
|
7 |
Prepare the Jira metadata export (json file) for the migration If Jira projects moved to a new site, prepare the Jira metadata export file for the migration. This file was generated on the source Confluence site in previous steps, and it needs to be augmented with data about the custom fields in the target Jira.
|
In this example, two custom fields are appearing in Snapshots:
JSON
💡 If a custom field has a new name in the target site, that new name will automatically appear in Snapshot- when the first Snapshot data (for that macro) is taken at the new site. |
|
8 |
The tab: Import
|
This file is not modified manually. It is uploaded exactly as it was downloaded.
|
Limitations, troubleshooting and upcoming improvements
|
Issue |
Notes |
|
|---|---|---|
|
1 |
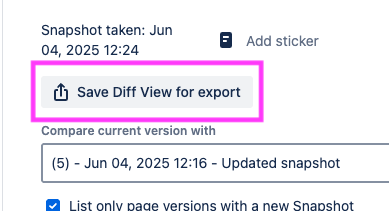
Saved diff view are not included in the migration
|
Please contact us ( support@radbee.com ) if this is required for your migration |
|
2 |
|
|