The Snapshots integration with Xray adds Xray-specific data — test types, steps, scenarios, test runs — to your snapshots and enables the Snapshots Test Report macro for detailed test reporting. The integration is provided by a companion app called the Snapshots Integration with Xray (Traceability Extensions), which adds an Xray connection tab to the main Snapshots Configuration.
By the end of this page, you will have the Traceability Extension installed and connected to your Xray data.
Before you start
-
Site administrator access on the Confluence Cloud site where Snapshots runs.
-
Site administrator access on the Jira Cloud site that Snapshots reads from. Xray must be installed on the same Jira site.
-
A Jira/Xray user account whose Xray permissions cover the tests, test executions, and test runs you want to retrieve in snapshots. The integration reads Xray data through this account, so its permission scope determines what Snapshots can see. A user with broad Xray read access across the projects you care about avoids surprises later.
1. Install the Traceability Extension on Confluence
-
In Confluence, open Settings → Atlassian Marketplace → Find new apps.
-
Search for
snapshots xrayand select Snapshots integration with Xray (sometimes shown as "Traceability Extension for Snapshots"). -
Click Try it free, confirm the trial, and wait for the install to finish.
-
After installation, click Configure when prompted — or navigate manually to Settings → Apps → Snapshots Configuration → Xray connection. The Xray connection tab is part of the main Snapshots Configuration but only becomes available once the Traceability Extension is installed.
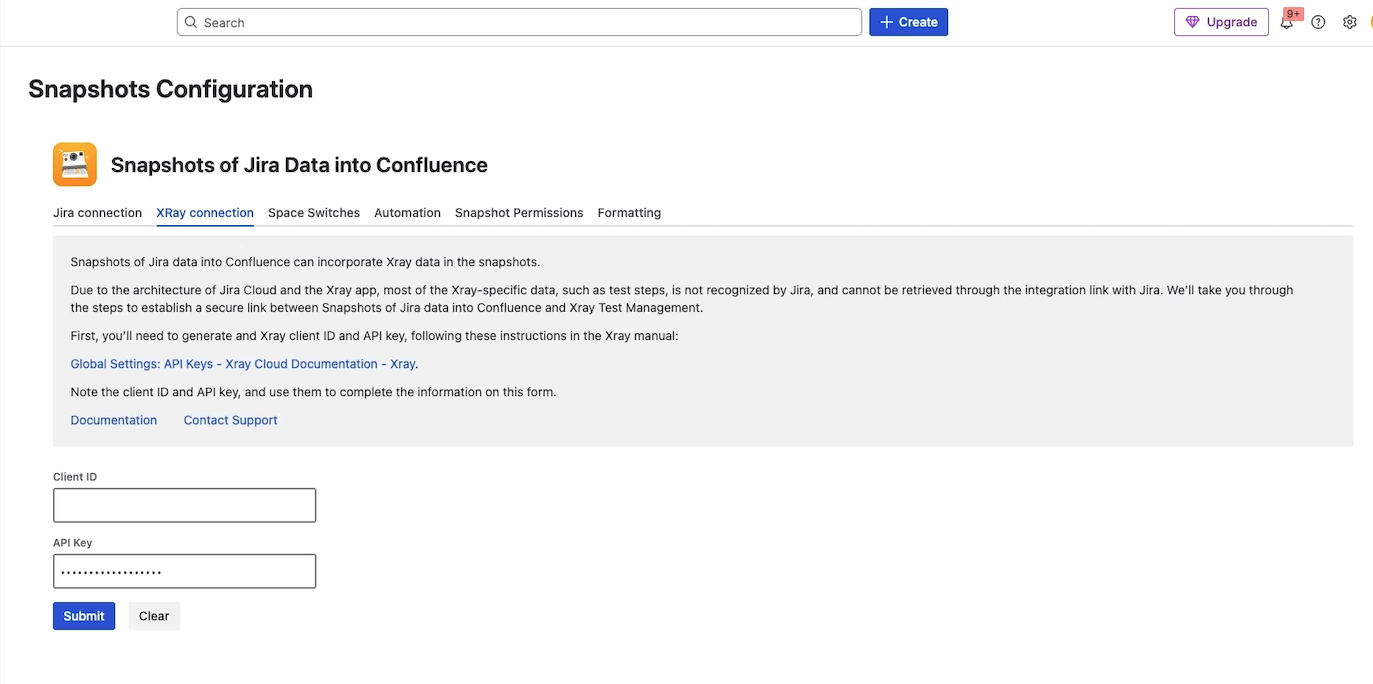
2. Generate an Xray API key in Jira
The integration authenticates with Xray using a client ID and client secret generated by Xray itself.
-
In Jira, open Settings → Apps → Manage apps.
-
Find the Xray section and open API Keys.
-
Click Create API Key. Choose the Jira user that the integration will read Xray data as. Their Xray permissions become the integration's permissions.
-
Xray displays a Client ID and a Client secret. Copy both. The secret is shown only once — save it before closing the panel.

3. Plug the credentials into Snapshots
-
In Confluence, return to Snapshots Configuration → Xray connection.
-
Paste the Client ID and the Client secret into the corresponding fields.
-
Click Submit.
If everything is correct, you'll see Connection is open. The integration is ready, and Xray-aware snapshots can be built on any Confluence page.
Troubleshooting
When Xray's data residency is set to Europe — and sometimes when Jira's residency is also non-default — the connection occasionally fails to open even with valid credentials. The fix is on the Xray side. See Xray connection error: data is in another region for diagnostic steps and how to get it resolved.
What's next
-
Integration with Xray Test Management for Jira — overview of what the integration provides.
-
Adding Xray data to snapshots — using Xray fields and test run levels in your snapshots.
-
Snapshots Test Report macro — the dedicated macro for detailed test reports.